¶ Objective
The goal of this section is to get hands-on experience with creating your own Object Detector.
¶ Project Overview
In this section, you will be building your first object detector using YOLO.
¶ Step 1: Dataset Preparation
Steps:
- Labeling Images: Use tools like Roboflow to label images and save annotations in YOLO format.

- Robolflow provides a simple method to load your data and start annotating it, if you are confused refer to the short video.
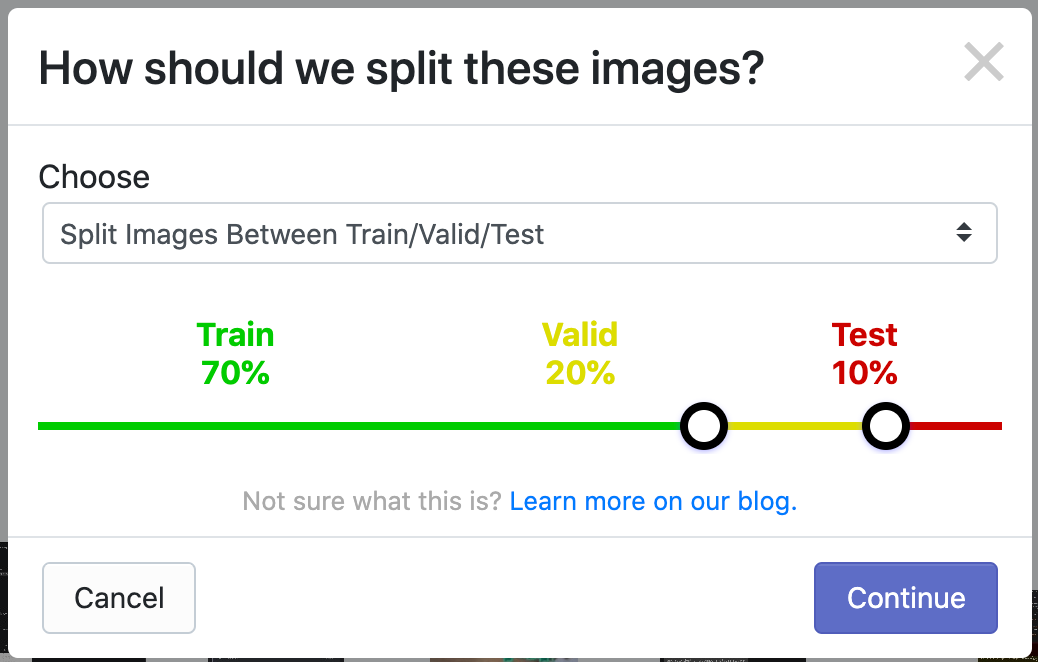
- Split Dataset: Divide your dataset into training (70%), validation (20%), and testing (10%).
- It can be done using roboflow. Click on the dataset section under your project and then create a new version.
- Alternatively you could also split your dataset using a python code, but this is simpler.
¶ Step 2: Activate your environment
The steps have been explained in detail in the previous section.
activate your environment
conda activate object-detection
¶ Step 3: Model Selection
We will be using YOLOv5 for simplicity.
For loading the model run the following commands on your terminal.
git clone https://github.com/ultralytics/yolov5.git
cd yolov5
pip install -r requirements.txt
¶ Step 4: Training the model
¶ Configuration:
- Modify the
data.yamlfile for dataset paths:

The path will be similar to F:\College\CodeLabs\dataset\test for the test folder. replace them in the data.yaml file.
¶ Training
run the following command with your correct path in the terminal
python train.py --img 640 --batch 16 --epochs 50 --data F:\College\CodeLabs\dataset\data.yaml --weights yolov5s.pt
Alternatively, you could run it in Python by importing the Ultralytics library
and then runnning the command
yolo task='detect' mode='train' model=yolov5s.pt data='F:\College\CodeLabs\dataset\data.yml' epochs=50
¶ Step 5: Evaluating the model
run the following command to test your model
python val.py --weights runs/train/exp/weights/best.pt --data F:\College\CodeLabs\dataset\data.yaml --img 640
You could also check your models' inference on an actual image by running the below python code.
# Visualize Results
from PIL import Image
from yolov5.utils.general import non_max_suppression
from yolov5.utils.torch_utils import select_device
import torch
# Load Model
device = select_device('')
model = torch.hub.load('ultralytics/yolov5', 'custom', path='runs/train/exp/weights/best.pt')
# Inference on a Test Image
img = 'path/to/test/image.jpg'
results = model(img)
# Display Results
results.show()Don't forget to give your the images' path on which you intend to perform inference.